I'm building my 15mm A1E1 Independent (a British experimental tank from the 1920s-30s). I'm quite fond of these old rivet-studded land dreadnaughts.
The STL is available at https://www.wargaming3d.com/product/a1e1-independent-15mm/
================
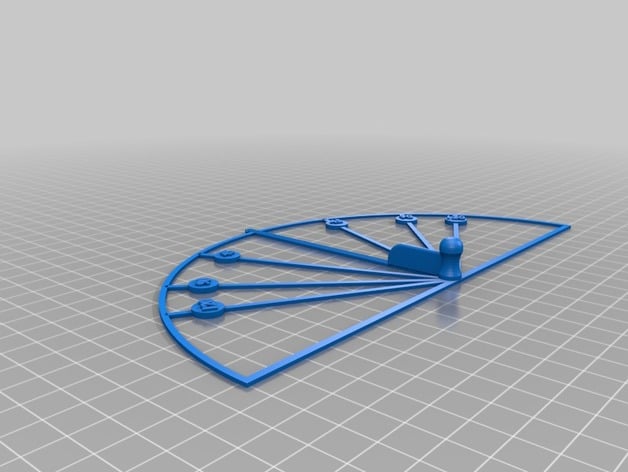
I printed the turrets and hull separately, as I wanted to use line supports and a support roof for the turrets, and tree supports for the hull.
The hull has been split into two pieces, fore and aft, and printed vertically. I find this tends to give me the cleanest detail in the running gear, and on sloping panels which would have very pronounced layer lines if printed horizontally.
 Here the two parts of the hull have been cleaned up (I'm getting a fair amount of stringing at the moment.)
The turret has had a magnet glued into the base of its turret plug, and a nail head is glued into the bottom of the socket. This allows the turret to rotate freely, but it won't just fall out if I turn the model over.
The MG sub-turrets will just be glued in place; it's not really important for game purposes that they be able to rotate.
I'm keeping some of the tree supports (to the right of the photo) and I'll turn them into dungeon terrain pieces.
The hull has been split into two pieces, fore and aft, and printed vertically. I find this tends to give me the cleanest detail in the running gear, and on sloping panels which would have very pronounced layer lines if printed horizontally.

The turret has had a magnet glued into the base of its turret plug, and a nail head is glued into the bottom of the socket. This allows the turret to rotate freely, but it won't just fall out if I turn the model over.
The MG sub-turrets will just be glued in place; it's not really important for game purposes that they be able to rotate.
I'm keeping some of the tree supports (to the right of the photo) and I'll turn them into dungeon terrain pieces.
====================

I replaced the exhaust pipes with lengths of wire, as I broke one of them off when cleaning up the print. The down-side to printing the hull vertically is that elements like these, which would be quite strong if laid down horizontally, become a bit fragile.
=====================
I've used Vallejo ModelAir 70013 Yellow Olive to represent the British peacetime military Deep Bronze Green.
I've tried it before and not been that happy with it, but I realised that's because I sprayed a matte-coat over the top. The peacetime vehicles were always finished in a satin or high gloss finish, for smartness rather than concealment, so I've given this one a satin finish as well. It makes a much better Deep Bronze Green this way.
It's been given a very light dry-brushing with a much lighter yellow green of my own recipe, and it's been pin-washed with Nuln Oil. There are no markings (as yet); the original vehicle has none except for serial numbers and the like.
 |
| Frontish |
I've tried it before and not been that happy with it, but I realised that's because I sprayed a matte-coat over the top. The peacetime vehicles were always finished in a satin or high gloss finish, for smartness rather than concealment, so I've given this one a satin finish as well. It makes a much better Deep Bronze Green this way.
It's been given a very light dry-brushing with a much lighter yellow green of my own recipe, and it's been pin-washed with Nuln Oil. There are no markings (as yet); the original vehicle has none except for serial numbers and the like.
 |
| Rearish |
 |
| Toppish |